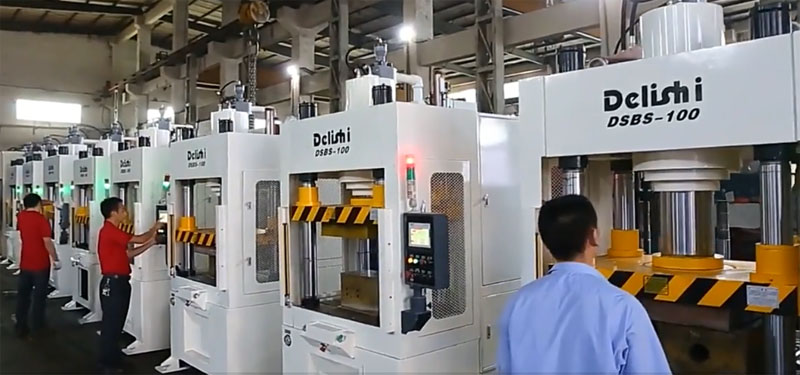
Assembly Process Of Four Column Hydraulic Press Machine
2022-01-18 13:46:44
First of all, we need to support the slider that has been welded and painted in the air. The height of the suspension should be controlled at about one meter. At least two cushion blocks should be used below to ensure the stability of the slider and not easy to overturn. The large slider has The weight reaches seven or eight tons. After the slider is hoisted and cushioned, we will install 4 columns. When installing the column, be sure to pay attention to the upper and lower parts of the column. Before installation, make a mark, which end is facing up and which end is facing down. When hoisting, pay attention to protect the thread on the top of the column from being collided. Install the lock nut on the top before installing the column. First, there can be a place for tying when hoisting, and second, when installing the beam later, there is no need to install the lock nut on it. This improves work efficiency and reduces the risk for personnel installing overhead. The order of installing the column is to install it diagonally. The purpose of this installation is to consider that the balance is not easy to overturn. Before hoisting the column, it is necessary to protect the four drop points under the column, and use cork to cushion it, so as not to poke into the cement floor. After the four uprights are installed on the slider, use the crane to hoist the uprights for installation. When sliding the four holes, you must pay attention, because the collision of iron and iron must be careful. If the thread is damaged or bent, it is best to pad it with cork under the column to prevent the thread under the column from colliding with the cement floor and causing damage to the thread.

First, we lifted the slider and moved it to the top of the workbench. The crane slowly descended. At this time, at least two staff members were required to stabilize the four columns, and the locking nut should be placed at the bottom of the four columns. Slowly Slowly descend, of course, it is impossible to be absolutely level when hoisting the slider. The staff needs to swing back and forth to slowly descend, and then slowly descend when the four locking nuts are all set on the column. When the slider is in place Later, we fixed the 8 nuts on the top and bottom of the 4 corners of the workbench. After it is fixed, as the hook slowly descends, the slider also moves down, because the slider is neither supported nor blocked by a locking nut at this time. At this time, a one-meter-long steel pipe can be prepared to withstand it. Slider, so that the table and the slider are installed.
The next job is to install the upper beam. The installation of the upper beam also has certain technical difficulties. First of all, when hoisting, the absolute level of the upper beam must be ensured, and the 4 holes of the upper beam must accurately cover the top of the 4 columns, and then slowly move down to the 4 lock nuts that have been installed, and then tighten the 4 lock nuts at the top of the 4 columns, so that the upper beam is installed.
More assembly process of our hydraulic press machine, please contact us.


 TOP
TOP WINDOWS